Installation
Requirements
It is recommended to install DEM in a dedicated Conda environment to ensure that all dependencies are available in compatible versions (see the steps below).
To run optimisation studies, a solver must be installed before installing DEM. If only simulations are required, no solver installation is necessary. Optimisation in DEM is implemented using the Calliope framework, and any solver listed on the Calliope documentation page can be used.
Note
DEM has been tested on Windows with Calliope v0.6.8 in combination with the CBC and Gurobi solvers.
Step 1: Create the Conda Environment
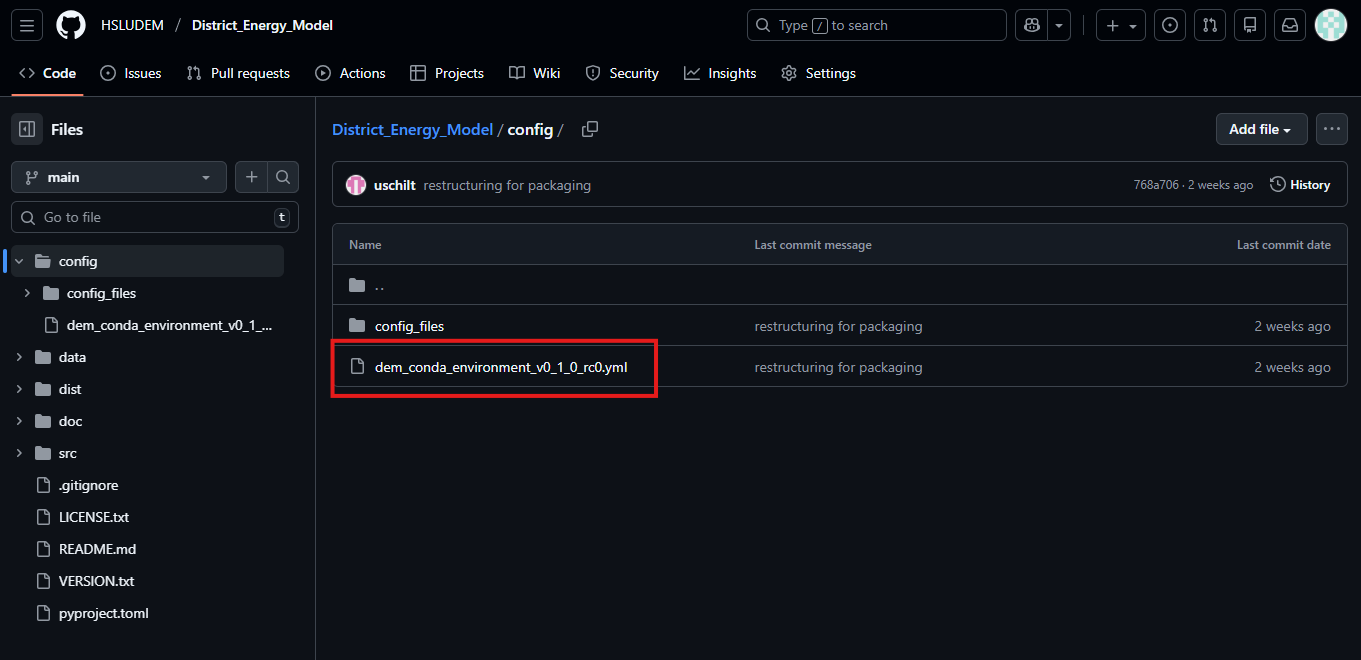
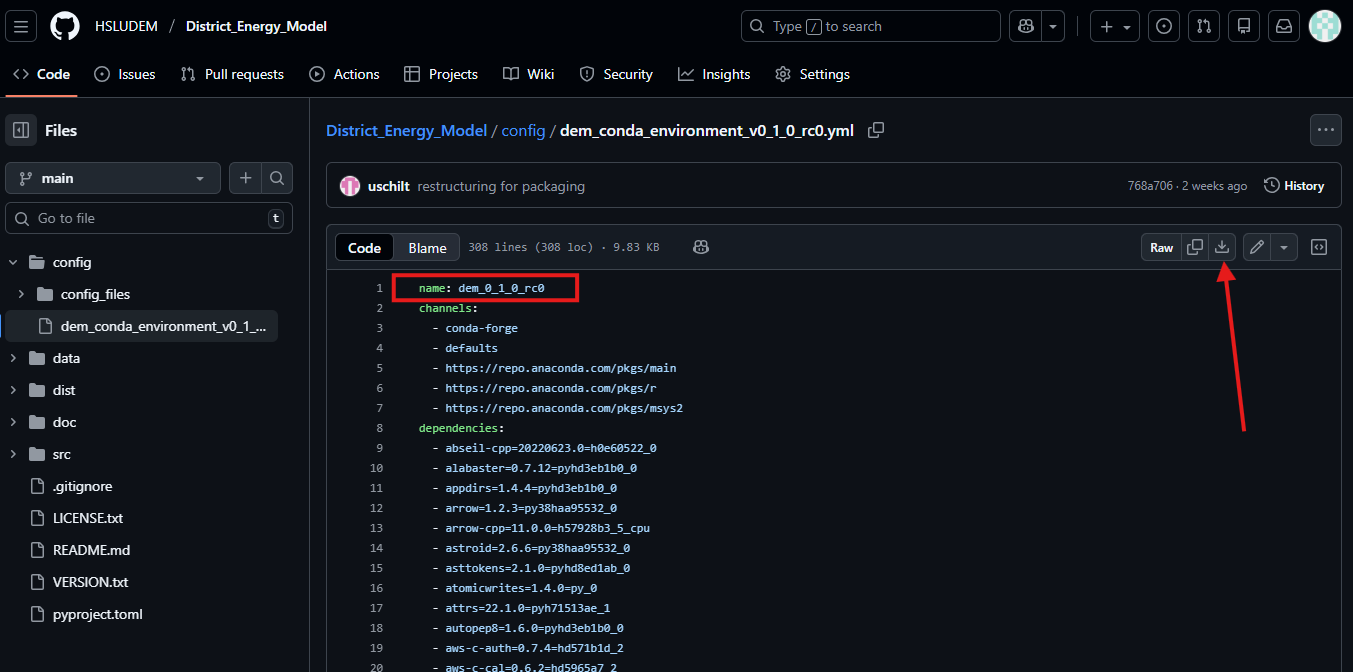
If not already done, download and install Conda on your operating system. Next, create the dedicated Conda environment. DEM is tested with the Conda environment provided in a file on GitHub. Locate the file named dem_conda_environment_vX_Y_Z.yml (or similar) in the config directory. Click on the file (see screenshot 1) and download it (see arrow on screenshot 2). Make sure to use the correct version (e.g. dem_conda_environment_v0_1_0.yml for version 0.1.0). In the file you can also see the name of the environment that will be created (see red rectangle in screenshot 2).
When using Linux, use the file with the _linux suffix.
Screenshot 1:
Screenshot 2:
Open the Anaconda Prompt window and navigate to the directory where the .yml file is located. The dir command will show you the content of the current directory. The cd command lets you navigate to these directories (e.g., cd path/to/folder).
Create a new Conda environment from the .yml file (exact name depends on version):
conda env create -f dem_conda_environment_v0_1_0_rc0.yml
This process might take a while, depending on the performance of the computer.
Activate the environment (exact name depends on installed version):
conda activate dem_0_1_0_rc0
Refer to the Conda documentation for instructions. If you are unfamiliar with Conda, consult the user guide.
Step 2: Install the District Energy Model
After activating the environment, install DEM with pip:
pip install district_energy_model
Now you can run the model (see Running a Simulation).